
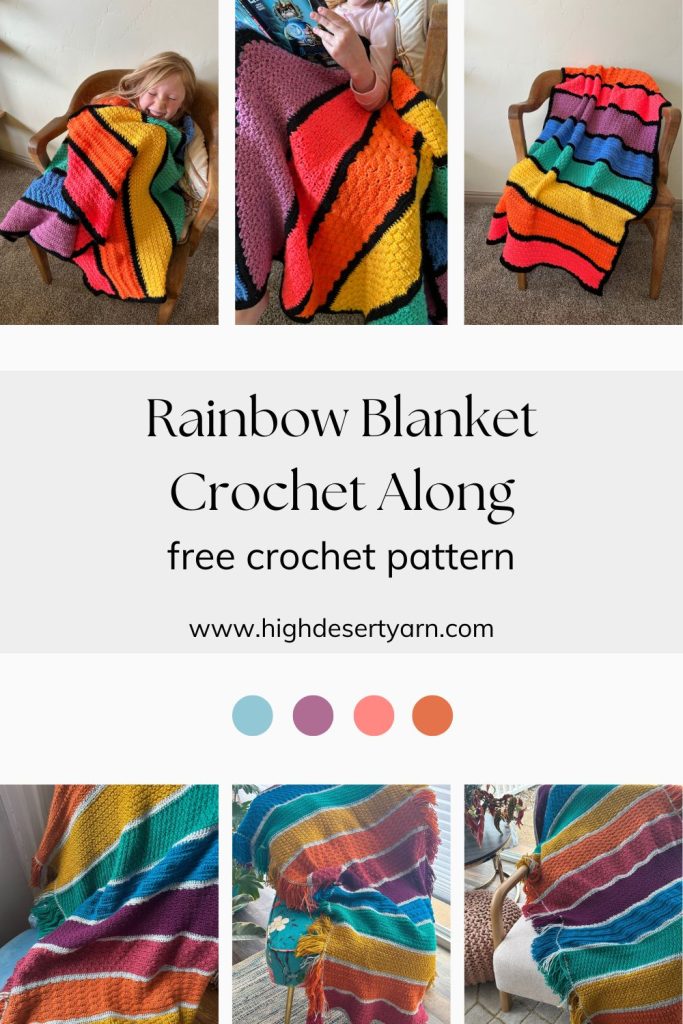
Inside – Learn about the Rainbow Crochet Blanket CAL and how to participate from reading this blog post.
Rainbows are one of the most universal symbols of our world. In nature, they exist in every part of our planet, because rainbows only require sunshine and water in the air to shine bright. These joyful displays of nature, remind us of the hope present in the world.
No matter what circumstances we find ourselves in… the rainbows stretch like a banner across the sky as a reminder to hold onto hope. For myself, I carry hope because I know that God loves me, my two bright + beautiful kids will become the next generation of kind humans, and my garden fills every summer with gorgeous flowers.
As we stitch up the Rainbow Crochet Blanket, I’d love for you to remember all the reasons you have to hold onto hope. Let’s dive into more details about this blanket so we can crochet and remind our hearts to keep on hoping!

Inspiration for the Rainbow Crochet Blanket
As crocheters, we each have a collection of patterns that we want to make “some day”. As a crochet pattern designer, I have notebooks filled with partially written patterns, and more ideas for unwritten patterns.
Guess what kind of pattern I found in one of those notebooks? A rainbow themed stitch sampler blanket.
Designing a rainbow crochet blanket rested in my TBD (to-be-designed) notebook for several years. Also, creating a stitch sampler blanket was on that TBD list. So, WHY NOT combine the two ideas to create a Rainbow STITCH SAMPLER Crochet Blanket?!
The best part about this crochet blanket pattern is that I get to work with one of my good crochet friends – Erin Toews from Juniper & Oakes. We’ve collaborated before several times.. from myself contributing to her overlay mosaic blankets to Erin using my hand dyed yarn to design home decor patterns.
When we talked last fall about creating a project together for 2025, we discovered that designing a stitch sampler blanket was on BOTH of our TBD Lists. After that “ah ha!” moment, we decided to create blanket together. We hope you love it as much as we do!
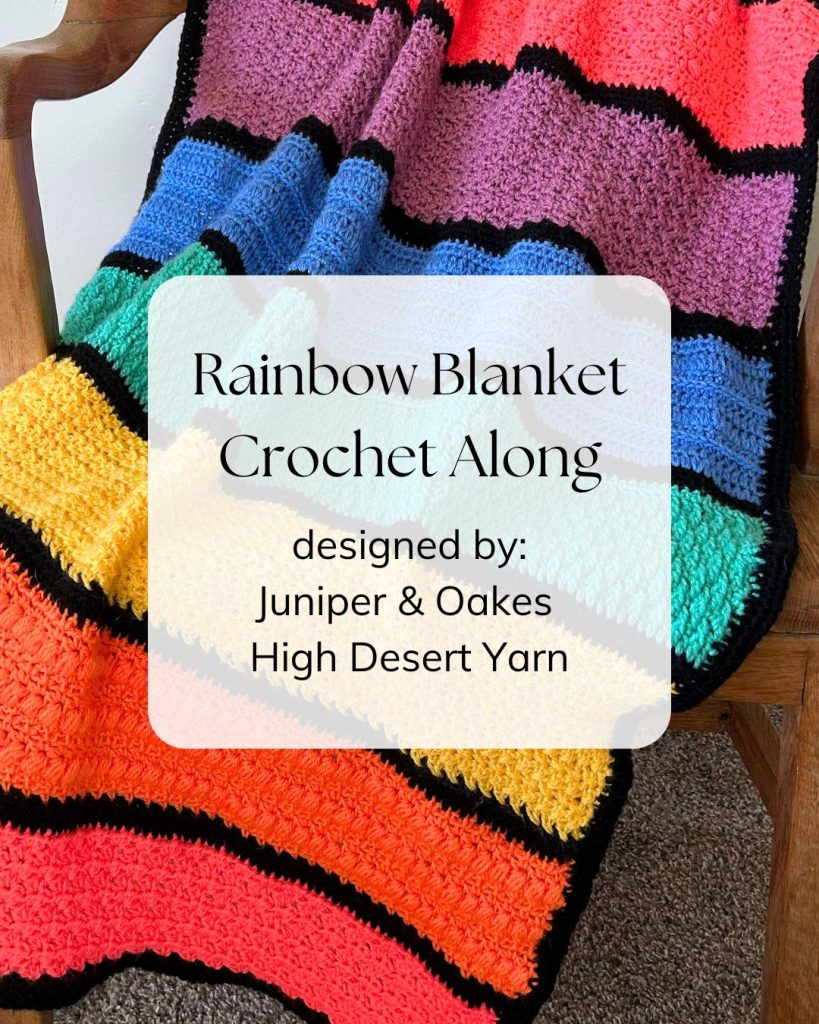
Are you ready for a stitch sampler adventure?
All the Rainbow Blanket Crochet Along Details
- WHAT
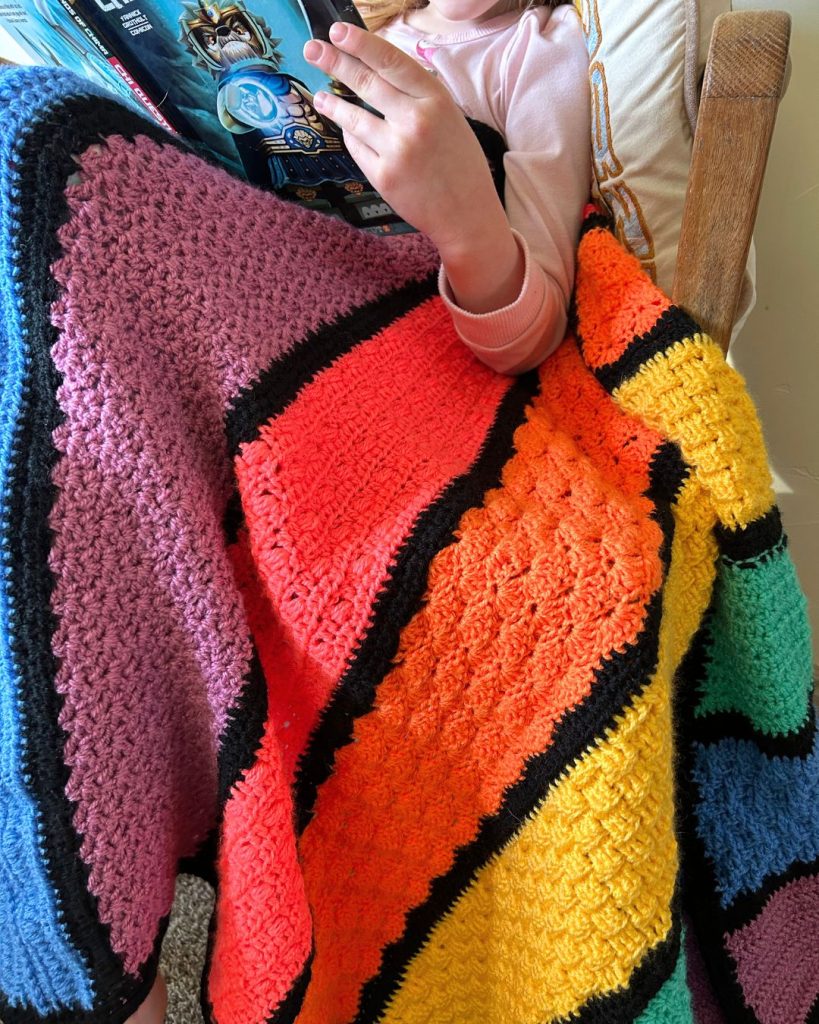
- The Rainbow Crochet Blanket is designed with 12 unique crochet stitch sections. Six sections are dedicated to a “flat” texture, and the other six sections feature “raised” texture. You can finish your blanket with a simple half double crochet or fringed border.
- WHEN
- Presale for the Rainbow Blanket eBook starts on March 7, 2025. click here to purchase
- The free CAL (crochet along) starts Friday, March 14, 2025.
- Two sections will be released each week for 6 weeks on Tuesdays and Fridays.
- WHERE
- Each section will be available for free on either the High Desert Yarn Blog and the Juniper & Oakes Blog.
- psst… save this page to Pinterest to come back to easily – click here to save
- Also, there will be an opportunity to share your blanket’s progress in the HDY Handmade Community on Facebook.
- Join the community by clicking here.
- Each section will be available for free on either the High Desert Yarn Blog and the Juniper & Oakes Blog.
Don’t forget about the eBook!
The Rainbow Blanket eBook is designed with the crocheter in mind.
Love to print your crochet patterns? The eBook features printer-friendly pages for minimal ink usage.
Prefer to have a clickable PDF to work from your tablet? The eBook features links to the video tutorials.
Rainbow Crochet Blanket Materials, Notes, and Details

Materials List
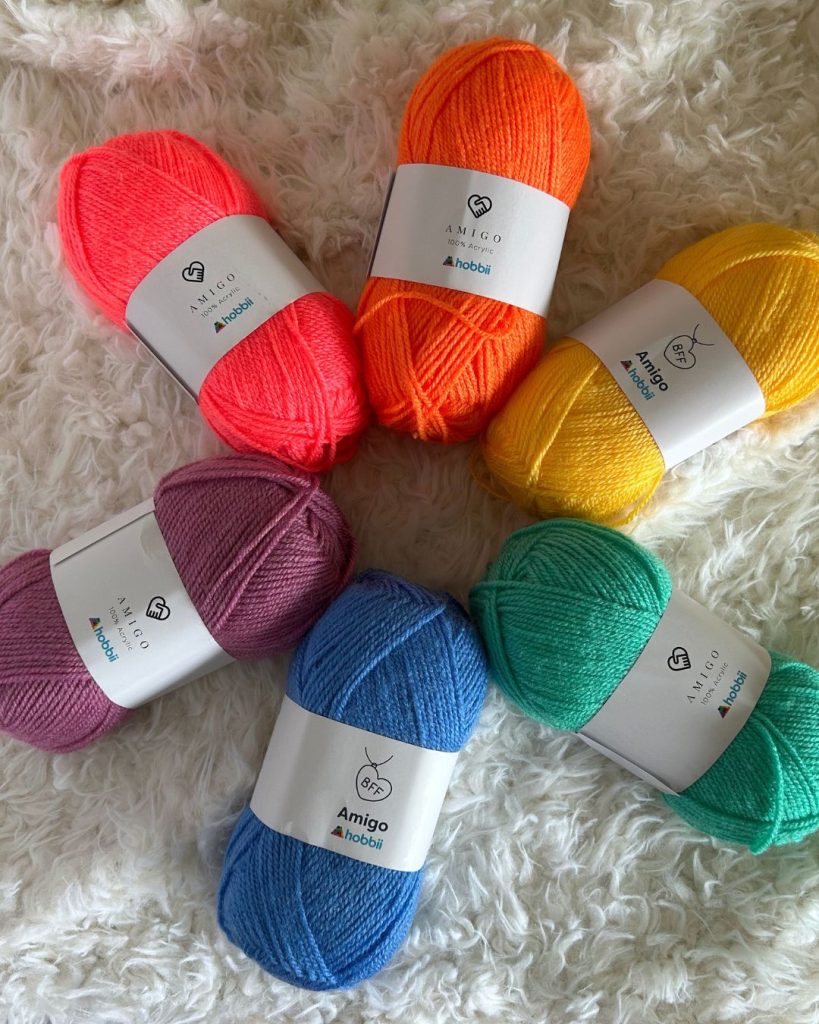
- Yarn – Amigo from Hobbii, DK (category 3) weight yarn, 100% Acrylic, 50g/191yds
- You’ll need 7 colors total.
- MC means “main color” yarn which is the Gray Yarn in Erin’s blanket, and the Black Yarn in Joanna’s Blanket.
- CC means “contrasting color” which is the color of each section. Since Erin and Joanna used different color schemes, every section will be designated as CC.
- Yardage
- MC = approximately 382yds
- CC = 382 yds PER section; 4,584 yds total
- Crochet Hook – 4.25mm or 5.00mm depending on your gauge.
- Please check gauge prior to starting this pattern.
- Notions – Tapestry needle, scissors
Pattern Notes
- Written in US Crochet Terms.
- Please see each section for individual notes.
- Blanket is worked in turning rows, and from the bottom up.
- Each section measures approximately 4″ wide (not including the two rows of HDC between sections).
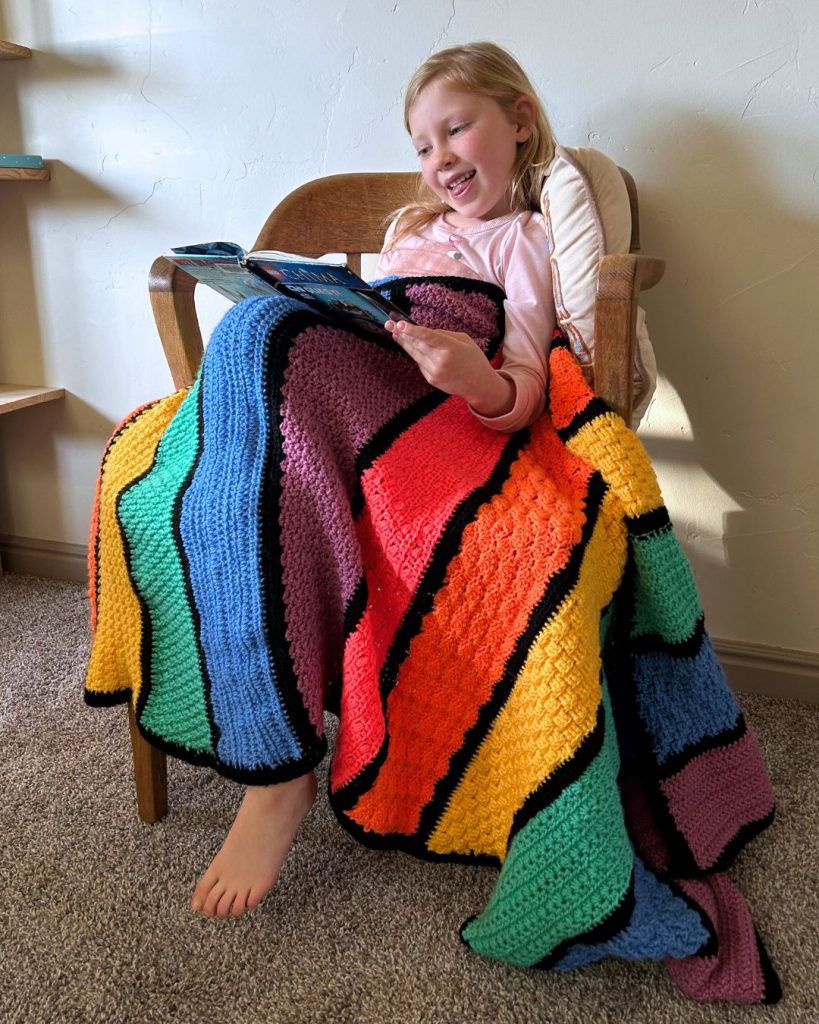
- The blanket samples were worked up in the rainbow color scheme, feel free to get creative with your own color choices.
Gauge
** Please check gauge prior to starting this pattern! **
- Erin uses a 5.00mm crochet hook for her sample blanket.
- Joanna uses a 4.25mm crochet hook for her sample blanket.
15 STS x 12 Rows = 4×4″ square
Gauge pattern is worked in HDC.
Gauge is NOT blocked prior to measuring the gauge swatch.
Finished Size
Approximately 34″ wide by 58″ long (including the HDC Border).
This size makes a great blanket for a toddler or twin sized bed. It’s also wonderful for a one person snuggle session on the couch.
For a custom size, you can change the base stitch count that is divisible by 2, 3, and 4.
Here are a few base stitch counts to change the width of the blanket.
- Throw Size (48″ wide) = 180 sts
- XL Throw Size (61″ wide) = 228 sts
To change the length of the blanket, you can increase each section by 0.5-1″, or add on extra 4″ sections. If you’d like more help with creating a custom size, please reach out to Erin or Joanna.
Don’t forget to save this blog post to Pinterest!
Rainbow Crochet Blanket Sections
Section 1 – HDC Clusters
Available March 14, 2025
The Half Double Crochet Cluster is comprised of 3 HDC sts worked in one stitch. These groups are stacked on top of each other from row to row to create a shell-like fabric.
Section 2 – Spumoni
Available March 18, 2025
The Spumoni is a combination of several rows of Mesh Stitches followed by a row of 9-loop Puff Stitches – which results in textured horizontal stripes.
Section 3 – Crossed SC + DC
Available March 21, 2025
The Crossed SC + DC Stitch creates a lightly textured fabric by overlapping the Single Crochet Stitches with a Double Crochet.
Section 4 – Alpine
Available March 25, 2025
The Alpine Stitch uses alternating DC and FPDC to create this texture that reminds me of mountains. You’ll work a row of SC on the WS to make the pattern one-sided.
Section 5 – Forked Clusters
Available March 28, 2025
In this section, the Forked Clusters meet the Half Double Crochet 3rd Loop to make an interesting surface texture. The best part is the line of tiny arrows from the HDC 3rd Loop.
Section 6 – Wattle
Available April 1, 2025
The Wattle Stitch combines SC & DC stitches, separated by a CH-1 to create a simple lace mesh. You’ll love this mindless repeat!
Section 7 – Boxed Bead
Available April 4, 2025
The Boxed Bead Stitch is a series of Half Double Crochets framing a Bead Stitch. If you know how to Puff Stitch, then the Bead Stitch will be easy as pie!
Section 8 – Closed Scallops
Available April 8, 2025
The Closed Scallops (also know as the Shell Stitch) is created by working 5 Double Crochet into the same stitch. By the end of the row you have these cute shells!
Section 9 – Triplets
Available April 11, 2025
The Triplet Stitch gives an almost Basketweave Stitch texture. You’ll love this reversible crochet stitch!
Section 10 – Star
Available April 15, 2025
The Star Stitch seems complicated at first, but once you get the hang of it, you’ll find your hook flying. Come create this lovely stitch!
Section 11 – Floating Rib
Available April 18, 2025
The Floating Rib Stitch is crocheted by alternating the stitch repeat from row to row. This gives the fabric a zig zag stitch texture.
Section 12 – Herringbone DC
Available April 22, 2025
The Herringbone Double Crochet Stitch is a slanted, extended DC that creates a herringbone pattern.
Rainbow Crochet Blanket Border Options
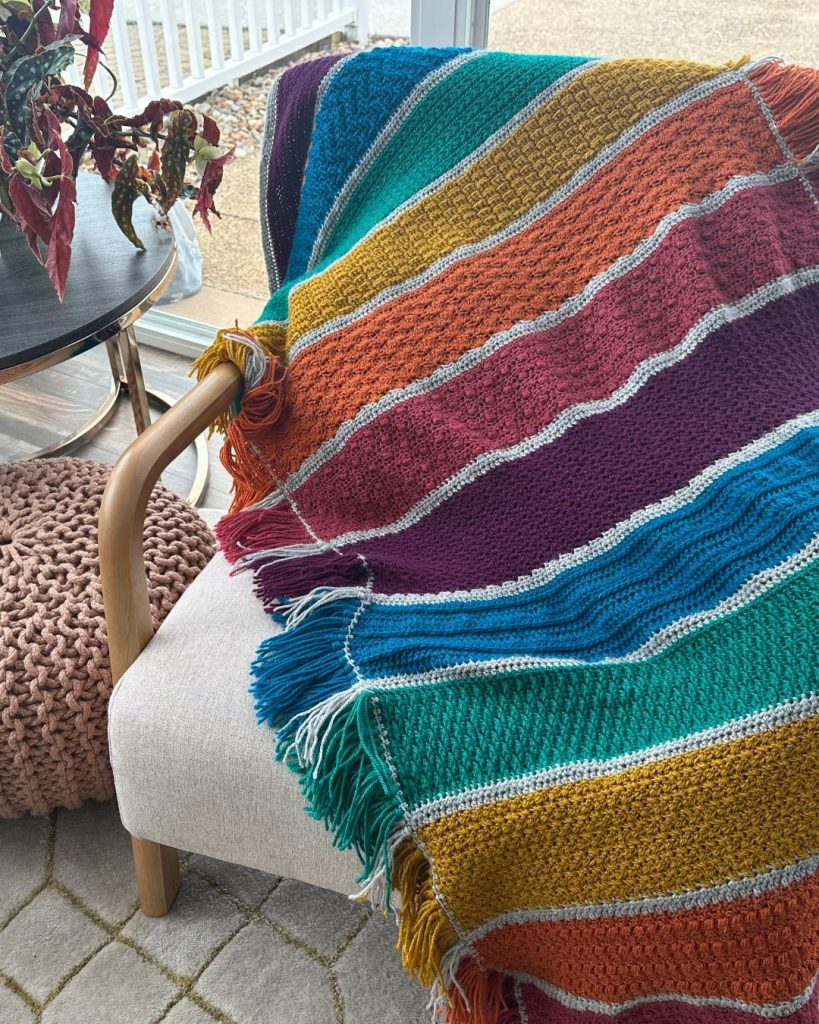
There are two options for the Rainbow Blanket Border. Erin designed a lovely fringe border. You can find those instructions on her blog here.
Fringe Border Tutorial on the Juniper & Oakes Blog – click here
Even Half Double Crochet Border
Attach MC yarn to a RS corner of the blanket’s long side.
Row 1 : CH 1, HDC evenly along the long edge of the blanket, turn.
Row 2 : CH 1, HDC in each st across.
Fasten off yarn, and repeat this process for the remaining long side.
Weave in all remaining ends.
Blocking is not necessary for the Rainbow Blanket.
High Desert Yarn is made possible by YOUR support. Thank you for reading this blog post, and helping build High Desert Yarn. Happy Creating, Joanna


